
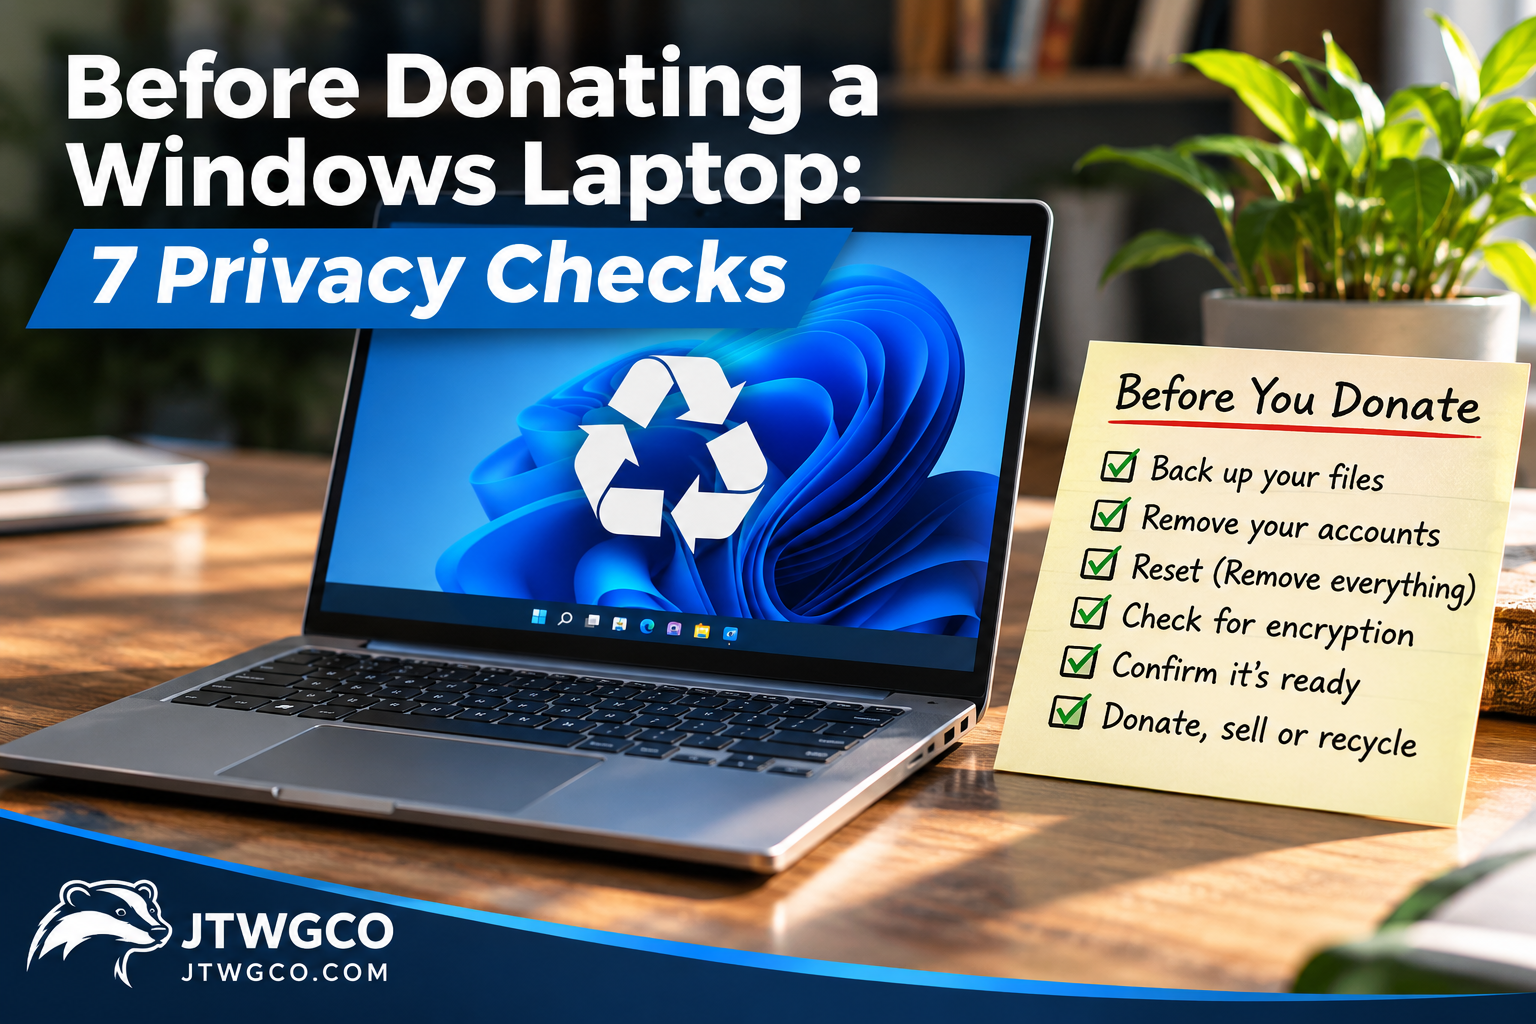
Before donating or recycling a Windows laptop, back up what matters, erase your personal data using the right reset options, and check that the computer is no longer tied to accounts you control. Handing over a laptop with your files, saved logins, or financial records still on it can expose far more than a few old documents.
Here is a practical sequence for a personally owned Windows 11 or Windows 10 computer. If the laptop belongs to an employer or school, stop and use that organization’s return process instead.
1. Decide whether to donate, sell, or recycle
If it boots reliably, has an intact screen, and can run a supported operating system, donation or resale may extend its useful life. If it is broken, swollen, or otherwise unsafe, use an appropriate electronics-recycling channel. A damaged lithium-ion battery needs special handling: do not puncture it, bend it, or put it into household trash.
Don’t promise a buyer that an unsupported Windows version is secure just because it still starts. Explain the model, storage size, battery condition, and any known problems accurately.
2. Back up files you actually need
Check your Desktop, Documents, Downloads, Pictures, browser bookmarks, locally stored email, password manager, and any software that stores projects outside standard folders. Copy needed files to another device or a trusted cloud account. Then open several files from the backup to confirm they are readable. A backup notification alone is not proof that everything important was saved.
Look for software license keys or recovery information you may need later. Disconnect external storage devices before starting the reset so you don’t accidentally select the wrong drive. The FTC’s computer-disposal guidance puts backup first for the same reason: erasing is difficult or impossible to undo.
3. Check accounts, management, and encryption
Ask whether the machine has more than one user account or an additional internal drive. Check whether it is enrolled in a workplace or school management system. If it is organization-managed, you may lack the authority to remove management or perform a proper transfer; contact the organization instead.
If device encryption or BitLocker is active, make sure you have any recovery information needed before reset troubleshooting. Do not paste recovery keys into websites or share them with prospective buyers. If the laptop holds highly sensitive information, a normal consumer reset may be insufficient for your risk level—see the higher-assurance note below.
4. Reset Windows using the removal options
On Windows 11, open Settings → System → Recovery → Reset PC. For Windows 10, Microsoft’s instructions direct you through Settings → Update & Security → Recovery. Choose Remove everything, not “Keep my files.” Review the additional settings and select Clean data if offered for a laptop you plan to sell, donate, or recycle.
Microsoft says Clean data makes removed files harder to recover, but explicitly warns that this consumer feature does not meet government or industry data-erasure standards. Reset options and wording can differ by Windows version and manufacturer; follow the actual screens rather than assuming every laptop presents identical choices. See Microsoft’s reset guidance.
Allow the process to finish without interrupting power. If Windows reports a reset failure, don’t assume the data is gone. Investigate the failure before handing over the machine.
5. Check the result before handing it over
For a laptop being donated or sold as working, verify that the computer reaches the initial Windows setup experience and does not open your old desktop or account. You do not need to complete the new owner’s setup. Check that no removable SD card, USB drive, or SIM-like cellular module with personal information remains in the device.
For a device with more than one drive, confirm the reset addressed all drives containing personal data. A successful Windows reset does not automatically prove every separate storage device was sanitized.
6. Remove the old PC from your account’s device list
After backing up and resetting, visit Microsoft’s device dashboard by typing the address yourself, sign in, find the old device, and use the available remove or unlink actions as appropriate. Microsoft’s device-transfer instructions explain both actions. Removing an account listing is housekeeping, not a substitute for erasing data from the laptop.
7. Choose a credible recycler
If the laptop cannot be reused, ask your local government or manufacturer about electronics collection. The EPA explains R2 and e-Stewards, two recognized third-party certification programs for electronics recyclers. Confirm whether a collection location actually works with a certified downstream recycler and what it does with storage devices.
Ask for written data-handling details if you are relying on the recycler to destroy a drive. A collection bin alone does not establish how the drive will be processed.
When ordinary reset is not enough
Some devices contain client records, financial data, health information, business secrets, or other sensitive material. In that case, use a documented sanitization process suited to the drive type and the sensitivity of the information, or a qualified provider that can verify destruction. The current NIST SP 800-88 Revision 2, released in September 2025, provides a risk-based framework for media sanitization. It is not a promise that a generic Windows reset satisfies every organizational requirement.
Do not drill, crush, or burn a drive or battery at home as a shortcut. Improper physical destruction can create safety and environmental hazards.
A final five-minute hand off checklist
- Needed documents, photos, bookmarks, and licenses backed up and opened successfully
- Employer or school ownership and management status checked
- External drives, memory cards, and other removable storage removed
- Windows reset completed with Remove everything and appropriate cleaning options
- Initial setup screen verified instead of an old signed-in desktop
- Old PC reviewed in Microsoft account devices
- Buyer or recycler informed of known device problems and data-handling needs
Go: You have a verified backup, completed the appropriate erasure process, and know who will receive the laptop. Investigate: There is an extra drive, a failed reset, or uncertain ownership. Walk away: Someone wants the laptop immediately while your accounts or sensitive files may still be accessible.
For businesses retiring multiple devices: Use an approved equipment-disposal procedure that records ownership, authorized data removal, and hand off. JTWGCO offers SOP documentation services to help turn a recurring process into clear steps your team can follow.
Last reviewed: November 3, 2026. General educational technology guidance; follow your organization’s data-retention rules and obtain qualified assistance for regulated or highly sensitive information.